
How to Cork a Wine Bottle
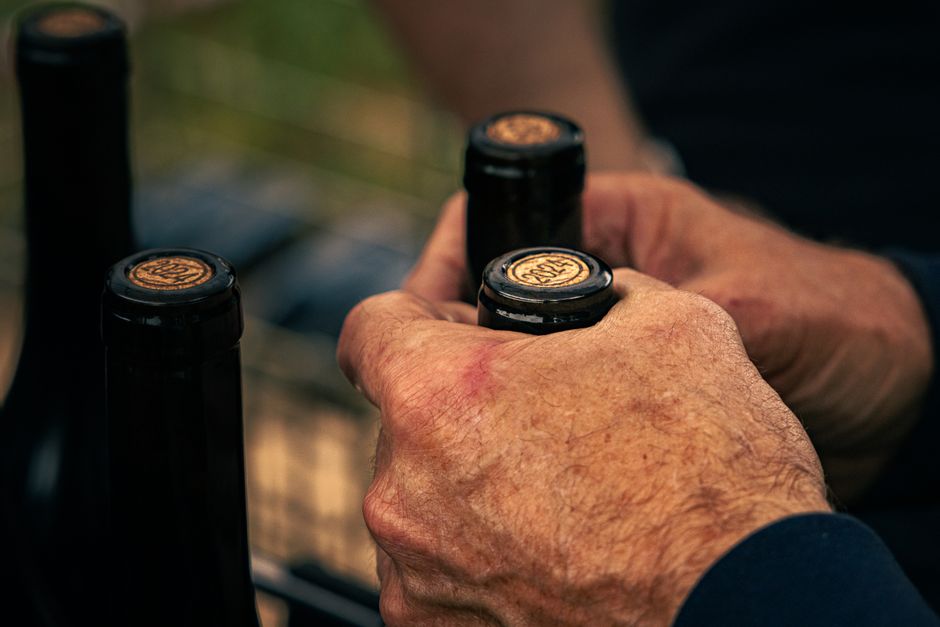
Corking a bottle by hand looks simple until the cork goes in crooked, splits, or lets air seep past it within a few months. Getting a tight, straight seal comes down to soaking the cork properly and using steady, even pressure with the right tool.
Steps
- 1Soak the corks in warm (not hot) water or a sulfite solution for 15-20 minutes before bottling, just long enough to soften them without letting them swell too much to fit the jaws of the corker.
- 2Fill the bottle to within 3/4 inch (about 2 cm) of the top, leaving enough headspace for the cork to compress into without wine touching it during insertion.
- 3Set the bottle upright on a flat, stable surface and center it directly under the corker's jaws or plunger.
- 4Place the cork into the jaws of the corker, positioning it label-side or brand-stamp-side up if the cork is stamped, so it reads correctly once seated.
- 5Squeeze the handles (on a double-lever corker) to compress the cork inside the jaws, then push down firmly and evenly on the plunger in one continuous motion until the cork is driven into the neck.
- 6Stop pushing once the top of the cork sits level with or just below the lip of the bottle, then release the jaws and lift the corker straight up.
- 7Check that the cork sits flush and straight; if it's crooked or protruding, it usually means the bottle wasn't centered or the corker wasn't held perfectly vertical.
Common mistakes
- Skipping the soak: dry corks are stiff and prone to cracking or splitting as they're compressed, and they won't hold a tight seal.
- Overfilling the bottle: without headspace, pressure from the cork forces wine up and out, and any trapped air gets compressed against the cork instead of settling into the neck gap.
- Pushing at an angle: even a slight tilt on the plunger drives the cork in crooked, breaking the seal on one side.
- Using corks that are too old or dried out: corks lose elasticity over time and won't expand back to fill the bottleneck once compressed, leading to slow oxidation.
Equipment
- Double-lever hand corker (or floor-standing corker for larger batches)
- Wine bottles with standard 3/4 inch (18.5mm) bore necks
- Straight, agglomerated, or natural wine corks
- Bowl or bucket for soaking corks
- Sulfite solution (optional, for sanitizing corks before insertion)
FAQ
Do I really need to soak corks before using a hand corker?
Yes. Dry corks resist compression and can crack under the jaws of the corker; a 15-20 minute soak in warm water softens them enough to compress cleanly and spring back to seal the bottleneck.
How far should the cork sit below the bottle lip?
Aim for flush with the top or up to about 1/8 inch (3mm) below it. A cork sitting too high won't seal properly against the glass, and one driven too deep can push into contact with the wine.
Can I reuse a cork after opening a bottle?
A used cork can be pushed back in by hand to store an opened bottle in the fridge for a day or two, but it won't reseal tightly enough for long-term storage since it's already compressed and won't expand back to its original shape.
Why did my cork crumble while I was inserting it?
This usually means the cork is old, low quality, or wasn't soaked long enough. Natural corks that have dried out lose flexibility and shatter under the pressure of the corker's jaws instead of compressing evenly.
What's the difference between a hand corker and a floor corker?
A hand corker (double-lever style) works fine for small batches of a dozen bottles or fewer, but a floor corker applies more consistent, straight-down pressure with less physical effort, which matters for larger batches where crooked corks become more likely from fatigue.
Need exact temperatures or timing? Check our Time & Temperature Guide →