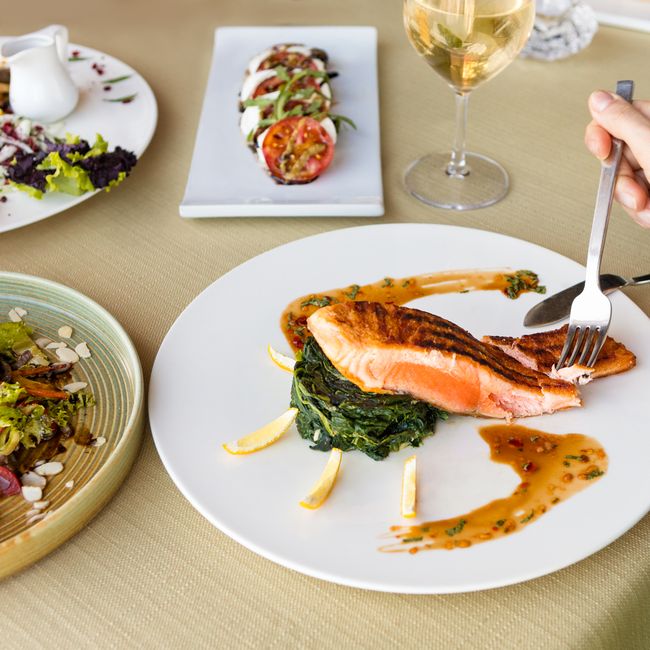
Pan Seared Chicken Breast Recipe
Pounding the breasts to an even thickness means they cook through at the same rate, so the outside doesn't overcook while the inside catches up, and starting in a screaming-hot skillet with dry, seasoned chicken gives a deep golden crust without steaming the surface.
- Prep
- 10 min
- Cook
- 15 min
- Total
- 25 min
- Servings
- 4
Ingredients
- 4 medium (6-7 oz each) boneless, skinless chicken breasts
- 1 1/2 tsp kosher salt
- 1/2 tsp black pepper, freshly ground
- 2 tbsp olive oil
- 3 tbsp unsalted butter
- 3 cloves garlic cloves, smashed
- 4 sprigs fresh thyme sprigs
Nutrition per serving
- Calories
- 372
- Protein
- 44g
- Carbs
- 1g
- Fat
- 21g
Based on the recipe as written, one serving. Recalculates if you swap an ingredient above. An estimate only, exact values depend on the specific ingredients used.
Need different units or a different yield? Try our Conversion Calculator →
Instructions
- 1Place each chicken breast between two sheets of plastic wrap and pound with a meat mallet or the bottom of a heavy pan to an even 3/4-inch thickness.
- 2Pat the chicken completely dry with paper towels, then season both sides generously with salt and pepper.
- 3Heat the olive oil in a large stainless steel or cast iron skillet over medium-high heat until it shimmers and just starts to ripple, about 2 minutes.
- 4Lay the chicken breasts in the skillet, presentation-side down, without crowding them. Sear undisturbed for 5-6 minutes, until deeply golden.
- 5Flip the chicken and reduce the heat to medium. Cook for another 5-6 minutes, until the internal temperature reads 160°F (71°C) on an instant-read thermometer.USDA safe minimum for poultry: 165°F (74°C)
- 6Add the butter, smashed garlic, and thyme sprigs to the skillet, tilting the pan and spooning the melted butter over the chicken for the last minute of cooking.
- 7Transfer the chicken to a plate or cutting board and let rest for 5 minutes before slicing; the internal temperature will climb to 165°F (74°C) as it rests.USDA safe minimum for poultry: 165°F (74°C)
- 8Slice against the grain and spoon the garlic butter from the pan over the top before serving.
Tips & variations
- Don't move or flip the chicken early to check on it; disturbing it before a crust forms tears the surface and leaves it stuck to the pan.
- A stainless steel or cast iron skillet browns better than nonstick because it gets hotter and holds that heat through contact with the meat.
- For a pan sauce, deglaze the skillet after resting the chicken with 1/2 cup chicken broth or white wine, scraping up the browned bits, and simmer for 2-3 minutes.
- Swap the thyme for rosemary or sage, or skip the herb butter entirely and finish with a squeeze of lemon instead.
Storage & reheating
Store cooled chicken in an airtight container in the refrigerator for up to 4 days. Reheat gently in a covered skillet over low heat with a splash of broth, or in a 300°F (150°C) oven until warmed through, to avoid drying it out. Microwaving tends to toughen the exterior before the center is hot.
Tips from the Tulo kitchen
- Letting the chicken sit at room temperature for 10-15 minutes before cooking helps it cook more evenly, since it's not starting stone-cold in the center.
- If the pan smokes heavily before the chicken even goes in, the heat is too high; pull it back a notch so the outside doesn't burn before the inside cooks through.
FAQ
Why is my pan seared chicken breast dry?
Overcooking past 165°F is the usual cause, along with skipping the rest period, which lets juices redistribute instead of running out onto the cutting board the moment it's sliced.
What's the best pan for searing chicken breast?
Stainless steel or cast iron holds and conducts heat better than nonstick, which produces a deeper, more even crust. Nonstick works but browns less aggressively.
Do I need to flip the chicken more than once?
No. Flipping only once, after the first side is fully golden, gives the best crust; repeated flipping interrupts browning and can tear the surface.
Can I use bone-in chicken breast for this method?
This recipe is built for boneless breasts, which cook quickly and evenly in a skillet. Bone-in breasts need a lower heat and much longer cook time, and usually finish better with a stint in the oven.